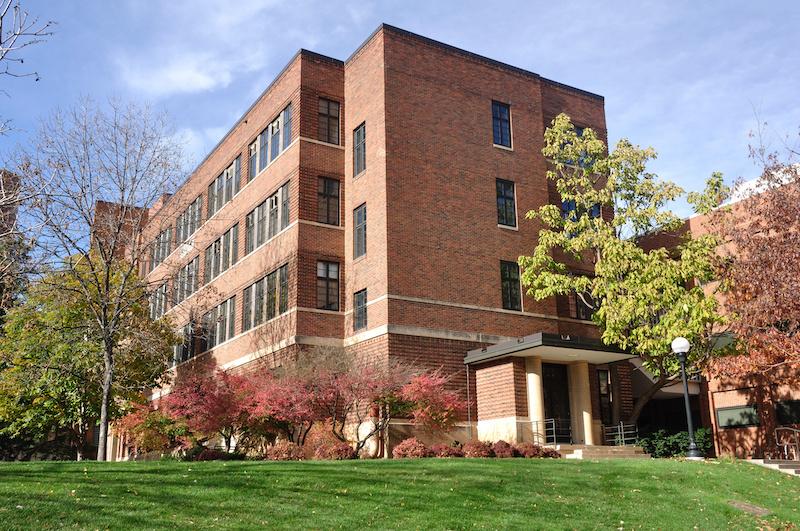
Application of control joints in brick veneers
The proper application of control joints in brick veneers isn’t a new topic, however, given the frequency of brick cladding failures we encounter, we thought it would be helpful to review the principles of control joint design and the related consequences of ineffective design.
Purpose of control joints in brick veneers
A brick veneer control joint is a continuous gap in the cladding system that allows expansion and contraction of the adjacent panels. The term “control joint” is commonly used in Ontario, though some experts prefer to use “expansion joint.” Most of the movement at the joint will typically occur within 18 months of construction, however, movement may continue with changes in façade temperature and cycles of wetting. Similarly, control joints are required in other forms of masonry veneers, such as stone, concrete, stucco and EIFS; though the details will differ, the concepts remain the same.
Control joint gaps are designed through the brick cladding only, whereas all other wall components, such as insulation, air barrier layer, structure, and interior finishes, remain continuous. An area of veneer bounded by control joints or terminations is referred to as a panel. Control joints are constructed from the top to the bottom of the panel in the case of a vertical control joint and from left to right in the case of horizontal control joints.
Considerations of control joint design
The principles for control joint placement are well-documented by the Brick Industry Association Bulletins 18 and 18A, as well as ASTM STP 992. The design of the control joint widths and locations are based on known properties of brick veneer and may vary with different brick and mortar combinations as well as expected environmental factors affecting expansion, including moisture and thermal conditions. A black coloured brick will be more susceptible to expansion than the same brick in a lighter colour.
Size, placement and frequency of control joints
Here, the typical distance between control joints will typically be less than 25 feet (7.6m). Discontinuities and openings in the wall can impact the spacing. Control joints are required at or near corners, as well as at offsets and setbacks, wall intersections, and locations where wall function or climatic exposure changes.
They are also necessary at changes in wall height, brick cladding, or back-up wall materials, and it is typically recommended that the control joint be located at the change in the wall height no more than two or three brick lengths from the corner of a building. The width of an expansion joint is typically chosen to match the width of the mortar joints for aesthetic reasons. The placement of control joints will affect the aesthetics of the building; however, these vertical lines are often disguised by their alignment with window jambs or in some instances, hidden by a quoined feature or complementary brick colour at an outside corner.
In addition to ensuring the proper amount, spacing and width of control joints, it is important to ensure the veneer panels have the required lateral support (brick ties) on each side of the control joint at the prescribed distance. The gap created for the control joint will also need to be filled with an appropriate backer rod and sealant (a topic in itself).
Brick veneer control joint design responsibility
Many building professionals mistakenly believe control joint design is the role of the structural engineer or have delegated the design to the contractor, as a result, control joints may not be properly addressed. Like most non-structural cladding systems, it is the architect that is responsible for providing the non-structural expansion control joints to protect non-structural building elements.
The structural engineer is responsible for how much and where the veneer bears on the structure and designing structural expansion joints to protect the building from: settlement, earthquakes, live- and dead-loading of the building.
Be sure to read part two of this article where we address the consequences of missing or poorly designed control joints.